
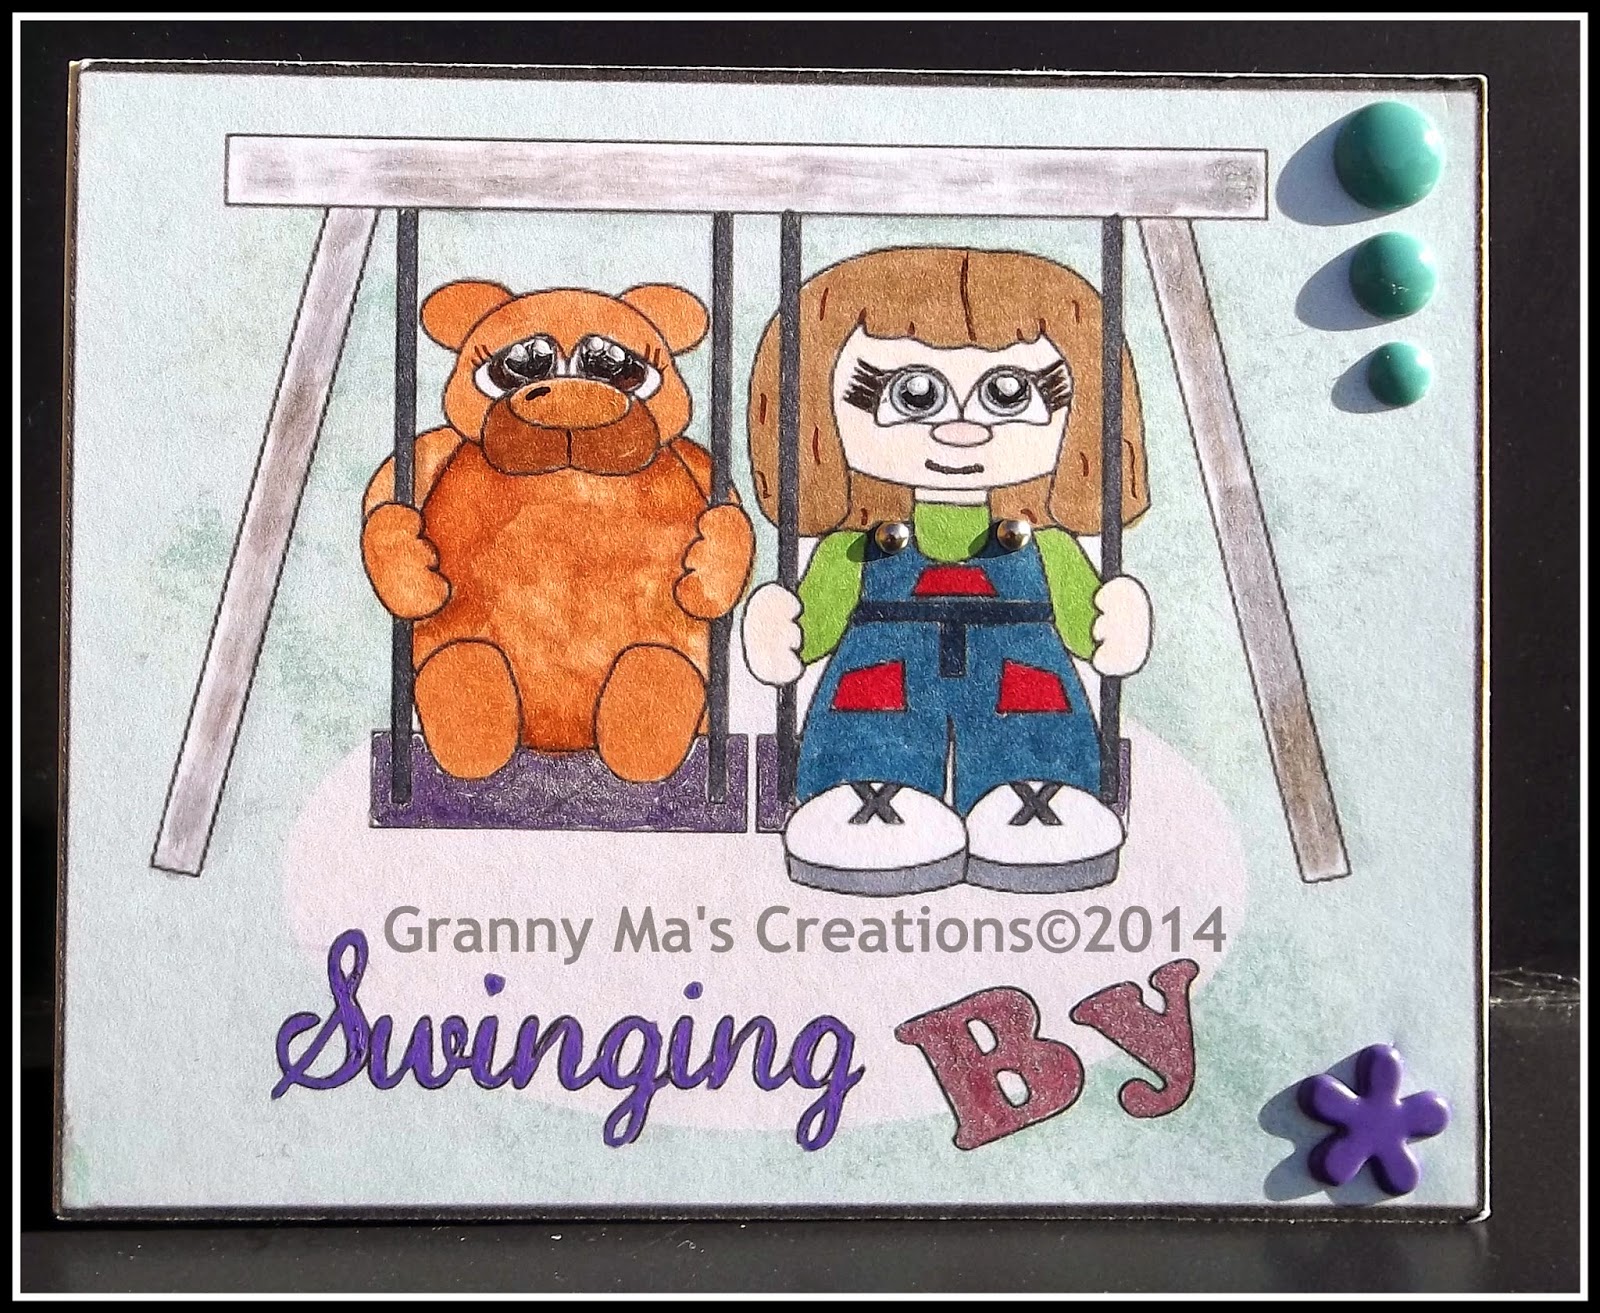
Front view
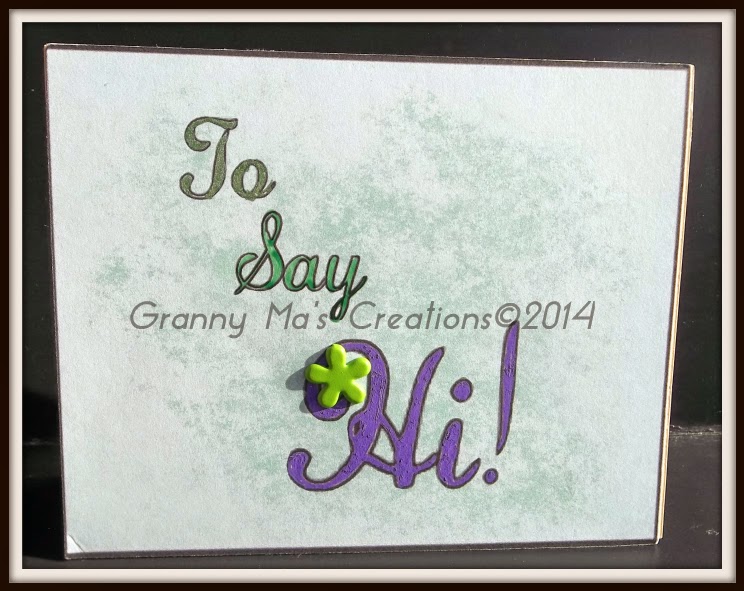
Back view
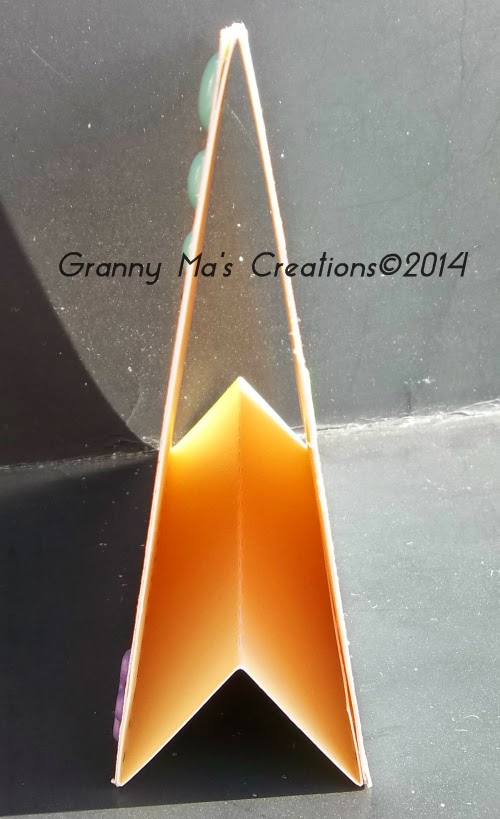
Side view
Supplies used:
- Abode Photoshop Elements 12 Brushes
- 3D Stand Up Card by Lori Whitlock
- Silhouette Studio Design Edition software
- Paint.net software
- Stick on buttons
- Small silver brads from Stampin! Up
- score tape
In Abode Photoshop Elements I created a green grunge mat using the photoshop brushes (Grunge), saved as a jpeg and than loaded into my Silhouette Studio Design Edition. Placed the mat on the 3D Stand Up cutfile; and than on a separate page I created the mat, placing the png image on the mat, after I created a oval for the swing to set on. I colored the png image with copic, bic and Stampin! Up markers - the Bic marker I used for the swing set was going dry but was able to create the bleached look.
Created a Grunge - looking mat for the back side and placed the 2nd half of the sentiment (traced, ungrouped and divided the sentiment so I can place one part on front, and the 2nd half on back.)
The 3rd view if of the 3D Stand Up card from a side view showing how I attached the pieces together. This card base can be cut out by hand (various utube videos out there with tutorials; and also there is tutorials on splitcoaststampers.com), but I wanted a cardbase that was easy to cut out and corrected size. My first attempt at cutting this out was not a great cut...but I believe it was the cardstock used - too flimsy.
Thank you for visiting with us here at Sunsational Stamps and stop by my blog at Granny Ma's Creative Blog
super cute card Love the shape !!
ReplyDelete