Thursday, March 6, 2014

Sweet gift set by Marji


I am proud to share this project with you today! Spring is here, so why not celebrate.
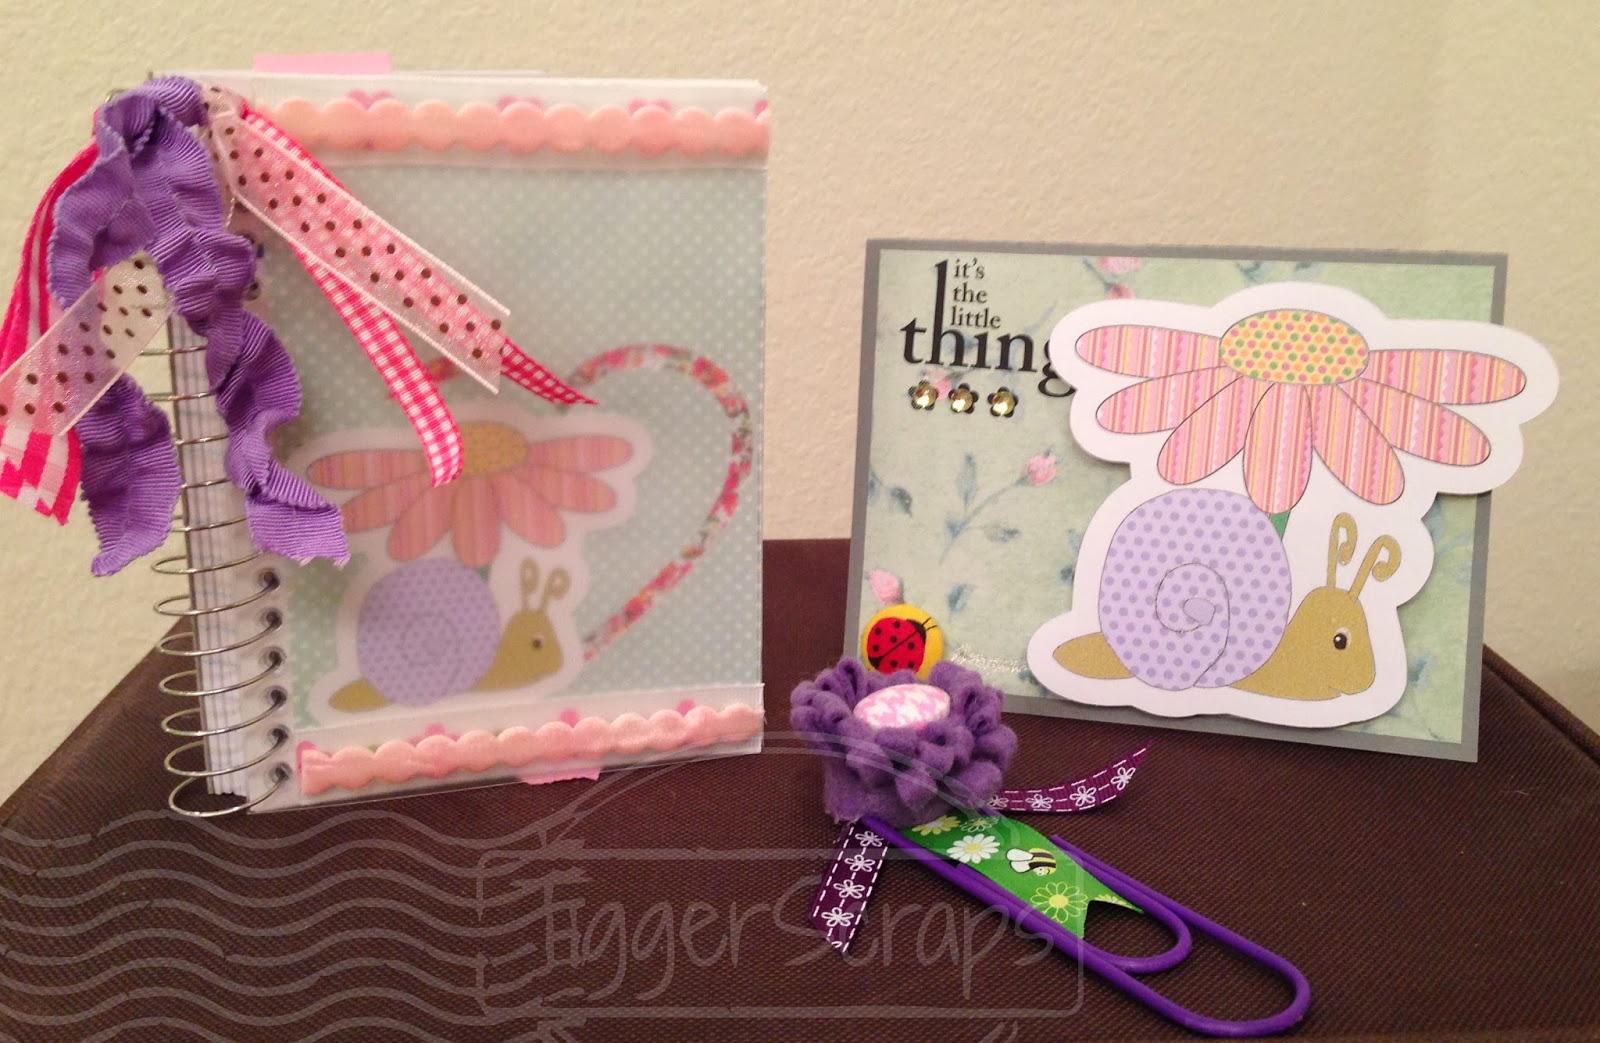
 I made a sweet gift set today.  What do you think?
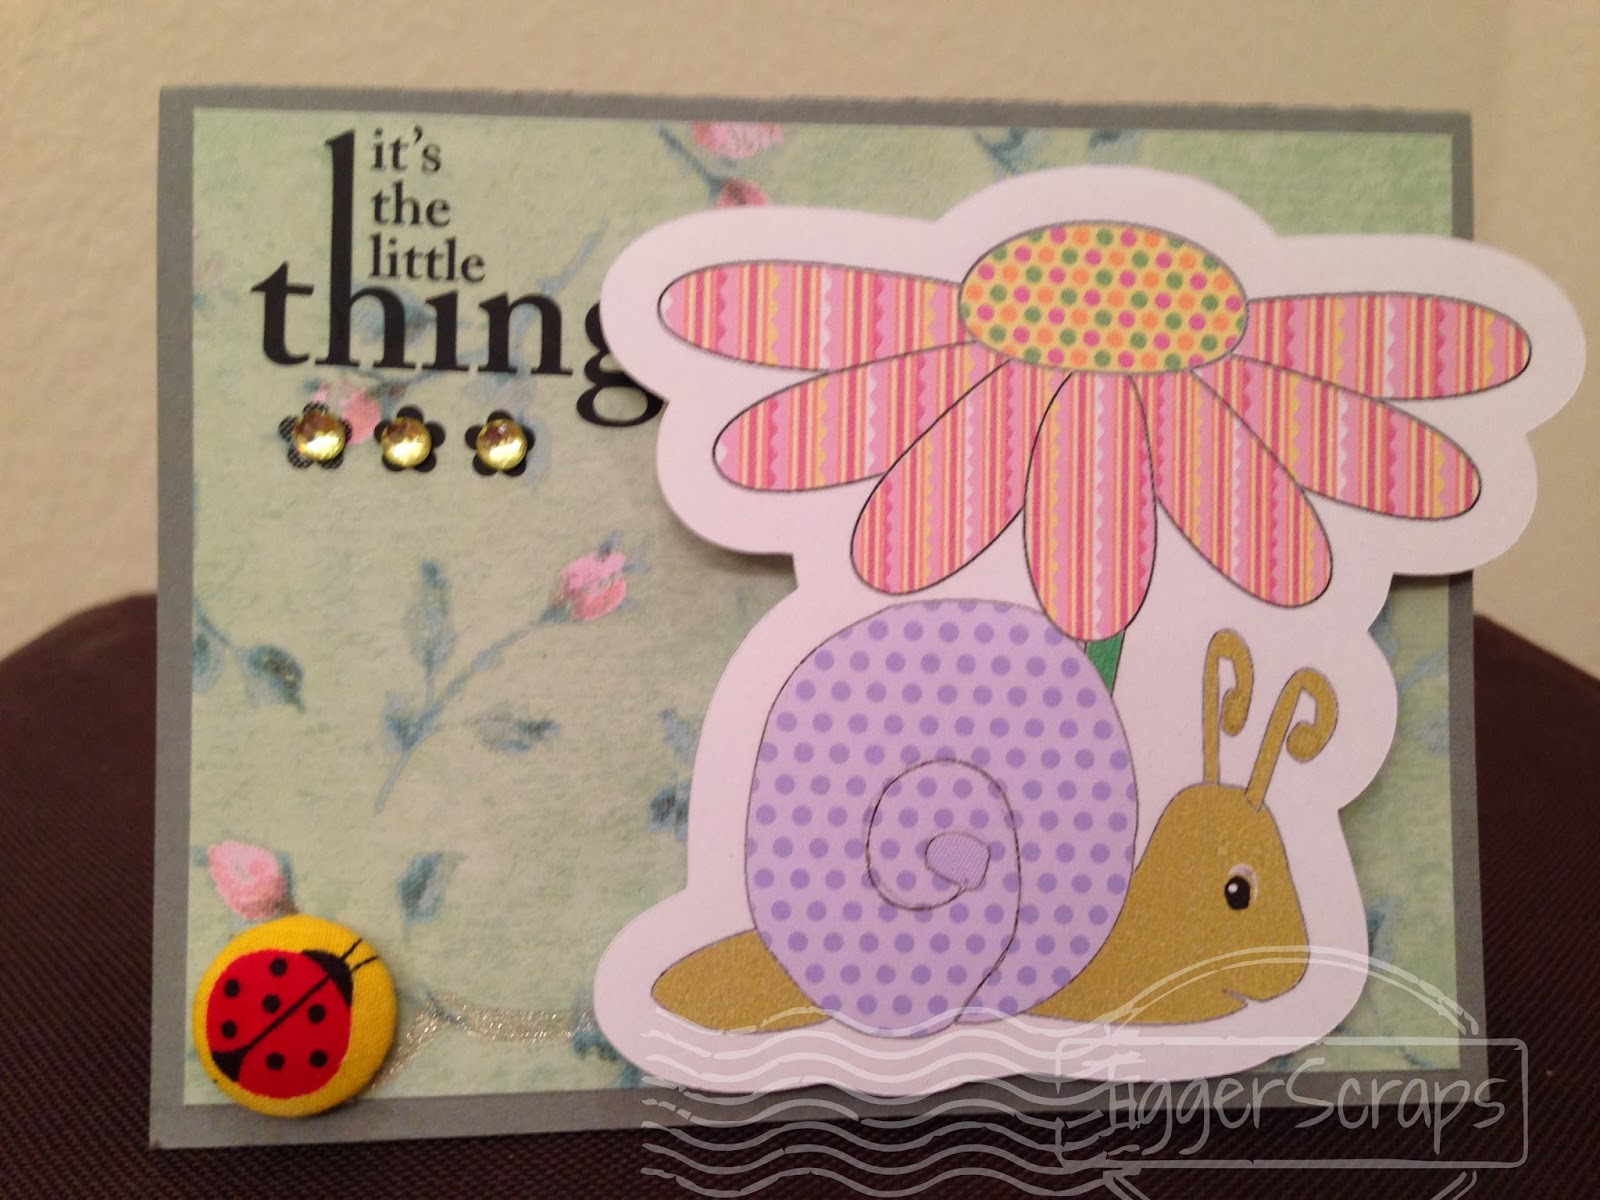
 I used the patterns and the print and cut feature again on my Cameo,  It's so fun to "color" on the computer!
 I mounted her on an action wobble to give her more personality.
 Isn't she cute?  I love her.
 I made a matching notebook.  I just copied the snail and made her smaller.  This in the background was actually from another project.  I save the piece after using that heart cut out. I love the look of this.
 I used my hot glue gun to add the ribbon to the covers and glued the top edge of the pink book mark to the back of the cover.  So you can keep your place.
 For the bookmark I used a felt popper from Pinque Peacock and some ribbon from my stash.
 To make this book mark I used my high temp glue gun to put a deep glob on the back then layered in the ribbon and paper clip.  To cover the mess, I found a circle punch that fit so I just placed it right over the warm glue.
Nice and clean and ready to go!

Saturday, March 1, 2014

Love Letters

Love Letters

Supplies used:
  • Sunburst cut file from SilhouetteAmerica Online Store
  • Teddy Bear with Letters from Sunsational Stamps
  • Brads, gemstones, button, and baker twine
  • Markers used: Stampin! Up and Copic for the letters
  • paper used for Sunburst from "My Library" in Silhouette Studio
  • Measurements:  5.50x4.25 inches
I cut the Teddy Bear with Letters using my Silhouette Cameo, tracing first so I cut out the background for placement of the Bear, onto poster board.  Cut the sunburst background and placed over greenish-blue-ish cardstock.  The little band  I color picked the color from the sunburst and than printed and cut out.  

The words, Love Letters I cut out and placed on the strip and than colored in.  Placed gemstones in lower left and upper right corner; and a green button with baker twine in upper left corner.

Thank you for stopping by to visit with us at Sunsational Stamps, and for more inspiration, please stop by my blog here .  Have a blessed day, and hugs to all...xoxo

Friday, February 28, 2014

I Love You

Hello Everyone, DT Sandy for today's Sunsational Stamps project...

Made an easy Tri-fol shutter card to feature this cute digi teddy bear angel stamp...


Hope you like this card project. You can check out Sunsational Stamps store for many more wonderful stamps and.for more inspiration, check out my blog A Working Mom's Joy

Thank you for stopping by, and happy stamping to all.
Sandy
Sunsational Stamps 
DT Member

Thursday, February 27, 2014

Foxxy by Marji

Don't hate me if you have that song in your head, I couldn't resist when I was going through my images and saw sweet little fox here.
 I used my sketch pens to write the word in my Cameo then created the speech bubble with an oval then drew the point with the pencil tool there in the program.
I used Lisa's JPG image already colored, I think he's perfect the way he is.  The papers I used are from Stampin Up.
Be sure to click the link at the top of this post to go shop and get your own foxxy 

Monday, February 24, 2014

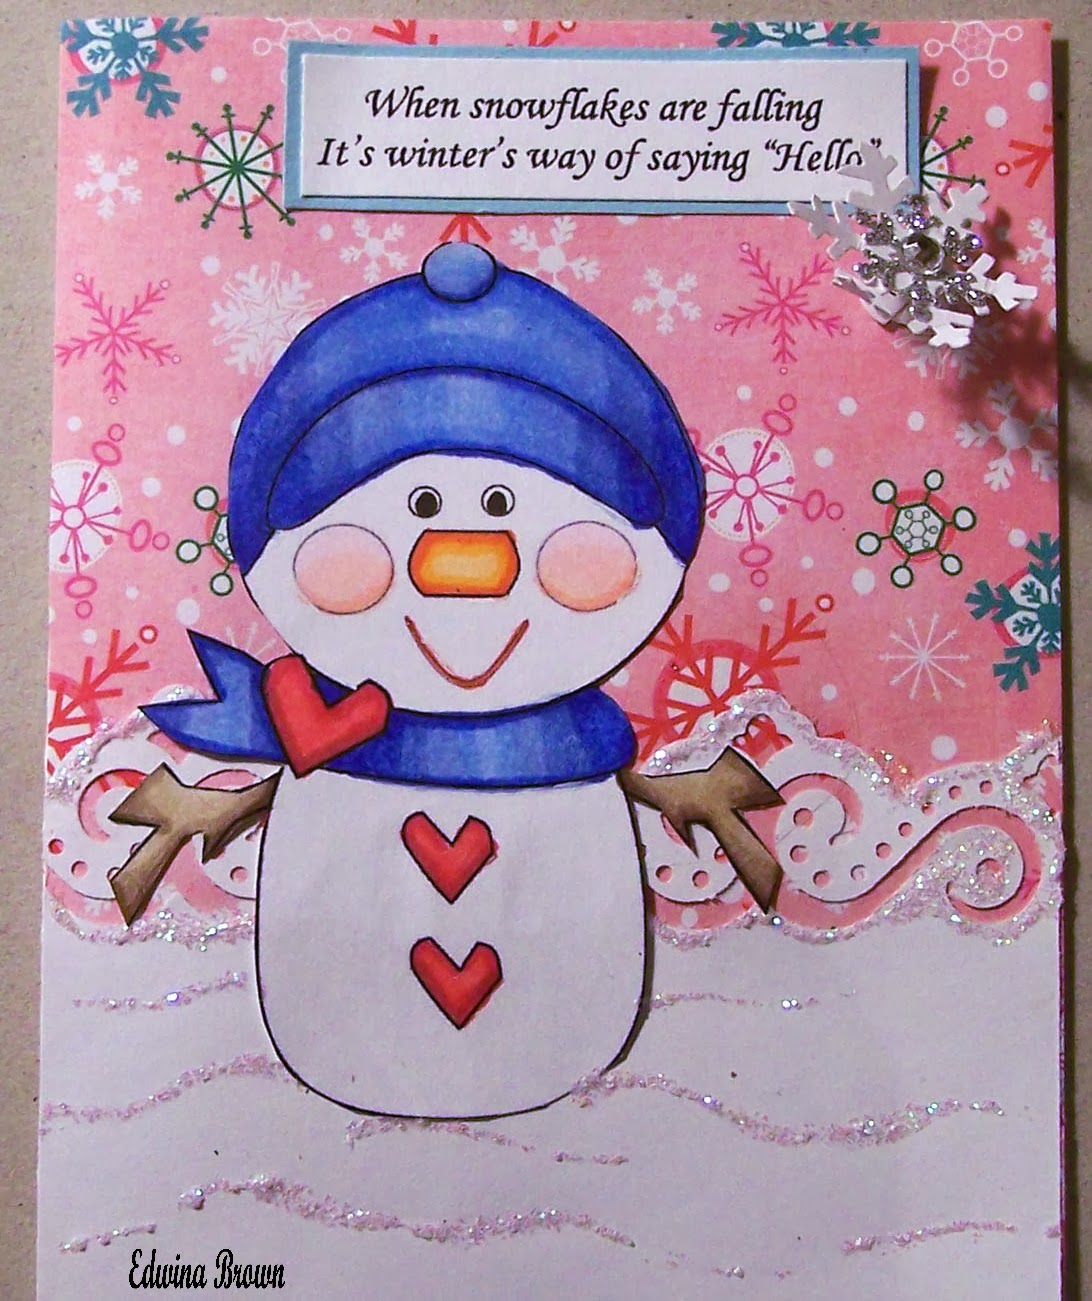
Sam the Snowman cards


Hello, Edwina from the DT here. Today I am using a stamp by Sunsational Stamps called "Sam the Snowman." You can find it here http://www.sunsationalstamps.com/item_28/Sam-the-Snowman.htm

First card:
Copics used are C1, C3, C5, C7, C10- hat, R29, R56, R59- hearts, YR01, YR04, YR09- nose, RV000, RV00, R20- cheeks, BG10, BG11, BG13, BG15- scarf, E43, E44, E47- arms.

Gelly Roll pens used are black- eyes, red stardust- mouth.

The snowman is pop dotted up.

The snowflakes are by Jolees Boutique.

The ribbon is by American Crafts.

The papers are by Recollections- prints, Colormates- light teal, Georgia Pacific- white. 

The card is 4 1/4" x 5 1/2". 

Second card:
Copics used are B91, B93, B95, B97- hat and scarf, R35, R37, R56- hearts, YR01, YR04, YR09- nose, R20, RV000, RV00- cheeks, E43, E44, E47- arms.

Gelly Roll pens used are black- eyes, red stardust- mouth.

The snowflake border is punched out using a border punch by Martha Steward.

The papers are by Recollections- prints, red, Georgia Pacific- white, Colormates- light teal.

The card is 4 1/4" x 5 1/2".


Saturday, February 22, 2014

Need a Hug?


Do you need a hug?  I believe we all do at some time and right now, I sure could use a hug or two -- from my granddaughters!!

Supplies used:
  • Digital stamp "Need a Hug?" by Sunsational Stamps
  • Swiss dot embossing folder used to emboss the larger mat
  • paper designs from my Silhouette Studio "My Library"
  • Brads, buttons and baker twine
Measurements for layered pieces

    Main mat: 13cm x 13cm (5x5)in
                       8cm x 5 cm (3x2)in
                       12cm x 4 cm (4 3/4 x 1 1/2) (used 11cm x 6 cm)in
                       3cm x 2cm (1 1/4 x 3/4)in
                       9cm in diameter  (3 1/2 in in diameter)

TIP:  when converting from Metric (centimeters) to Standard just change your measurements in your Studio software under preferences from Auto to CM and than when checking the size of your pieces or changing the sizes, you can just enter the cm numbers and will come up to that size. (unless you know how to do the math!!)

I placed the main mat thru the Sizzix Big Shot and embossed it 2 times since the mat was a bit wider than the embossing folder.  And the little 'gap' between the dots covered by the placement of the mats.

Basically, this card makes a 5x5 (size of base card is approx 5.25 x 10.25).

Thank you for stopping by to visit with us at Sunsational Stamps, and for more inspiration, please stop by my blog here .  Have a blessed day, and hugs to all...xoxo
                       

Friday, February 21, 2014

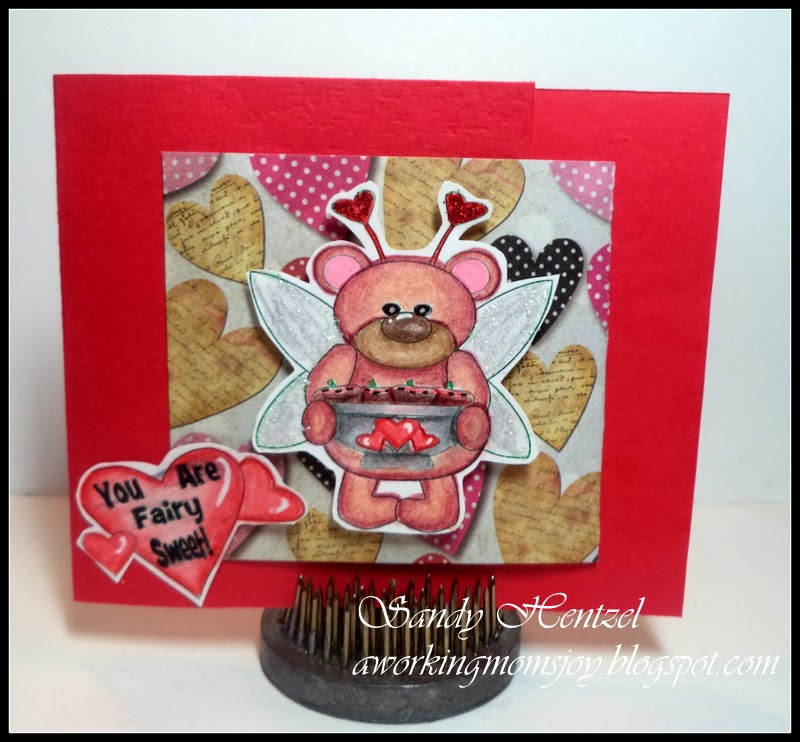
You are Fairy Sweet

Hello Everyone, DT Sandy for today's Sunsational Stamps project...

Made an easy Joy- fold card to feature this cute digi stamp...
http://www.sunsationalstamps.com/item_8/You-are-Fairy-Sweet-Bear.htm


I used color pencils and odorless mineral spirits (OMS) for my coloring.A very easy and simple card to make.


Hope you like this card project. You can check out Sunsational Stamps store for many more wonderful stamps and.for more inspiration, check out my blog A Working Mom's Joy

Thank you for stopping by, and happy stamping to all.
Sandy
Sunsational Stamps 
DT Member

Thursday, February 20, 2014

Sweet Dragon by Marji


Is this not the sweetest face you've seen?  I just think he's the cutest.
The link above will take you to the shop
 I used Lisa's colors in her JPG file and let my cameo do it's print and cut thing using the offset feature for the outline cut.
The papers are from Stampin Up and the "hello and the stars" are rub ons from SU as well.
 This cute fabric covered button is from Pinque Peacock.

Monday, February 17, 2014

Stew the Snowman cards


Hello, Edwina here from the DT. Hello, Today I am using a Stamp by Sunsational Stamps called "Stew the Snowman."  You can find it here http://www.sunsationalstamps.com/item_23/Stew-the-Snowman.htm

First card:
Copics used are B000, B01, B02, B04, B05- hat and scarf, R29, R56, R59- hearts, RV000, RV00, R20 - cheeks, YR01, YR04, YR09- nose, E43, E44, E47- arms.

 Gelly Roll pens used are red stardust- mouth,  black- eyes.

The snowflake is by Jolees Boutique. 

The glitter ribbon is by American Crafts.

The papers are by Recollections- prints, Colormates- pink and light teal, Georgia Pacific- white.

The card is 4 1/4" x 5 1/2".

Second card:
Copics used are B21, B23, B24, B26, B29- hat and scarf, YR01, YR04, YR09- nose, R35, R37, R56- hearts, RV000, RV00, R20- cheeks, E41, E43, E44- arms.

Gelly Roll pens used are black- eyes, Red Stardust- mouth.

The snowflake is on a spring so that it wobbles or twirls. The white snowflake is punched out using a Martha Steward punch. The silver snowflake is by Jolees Boutique.

The border is punched using a border punch by Martha Steward. I then added glitter glue to it.

The card is 4 1/4" x 5 1/2".

Have a wonderful day!


Saturday, February 15, 2014

Lisa

Lisa

Good morning, Carolyn here to share with you what I created using the digi stamp "Lisa" from Sunsational Stamps.

The main layer of the front mat I cut out a fancy label mat, and using the same cut piece, I created a lattice and than applied to the main mat and framed it with brown card stock.   

I traced the image, Lisa in my Silhouette Studio and colored with Stampin! Up markers, but the hat and brim is paper pieced from another image of Lisa that I hand-cut.  Placed Lisa on the edge of the lattice window using foam tape.  Flowers from from a swap that I participated in on Facebook at one time.

Please visit me at Granny Ma's Creative Blog to see what I've been up to lately.

Thank you for stopping by, and hugs to all...xoxo