Thursday, July 31, 2014

Sweet turtle by Marji


So in love with this card!!!! I am so tickled with how it turned out.  Love those rich colors and the gorgeous flower from Pinque Peacock.
I had to put him on an action wobble for some fun.


Saturday, July 26, 2014

Christmas in July

Hi, Carolyn with another weekly posting, and seems to be the theme all over blogland that July is "Christmas in July" so with the last Saturday of July, I decided to use the theme to share with you.  Using the jpeg image that was included with the file, I created a Santa card.  Here is my card:

 
  Santa
cutting files include:  svg, pdf, jpeg, png, EPS and DXF

Supplies used:
In Silhouette Studio DE I open up the Santa file,  sized to what I wanted, and than printed it onto white card stock.  Once printed I used my Brother's Scan n Cut machine and cut out the Santa and the holly.  So easy to create your embellishments with this machine.

The frame cut out in red card stock (heavy cardstock) I created in Silhouette Studio DE and adhered to the white card base and inserted the subway art piece right into the square. 

Come join us on Sunsational Stamps Facebook fan page at https://www.facebook.com/sunsationalstamps

Thank you for stopping by to visit with us and check out my blog at Granny Ma's Creative Blog for more inspiration.

Thursday, July 24, 2014

Swinging by to say hi, by Marji


The card says it all! (big grin)
I love this, I spent hours and hours on my swing set as a child, I loved it so much.  So many fun memories.

Saturday, July 19, 2014

Hoo Loves School? Layout

Hi, I'm back to share another scrap page, using Hoo Loves School? from Scrapping with Lisa.  This page is for my granddaughter's scrapbook, as a page of her 6th grade year. (I am so behind in the school year section of their scrapbook!)


Supplies used:
  • Scrap page was purchased from the LSS that has since closed their doors (sad face insert)
  • Hoo Loves School? by Scrapping with Lisa Designs
  • Bic coloring markers used with Grey on the book pages from Copic; and metallic markers was used around the edges of the school books.
  • Flowers from a files of scrap papers print and cut out with my Silhouette Cameo/Studio Design Edition.
  • foam tape to pop up the title
I layered the photograph with blue cardstock; and substituted the font with one from my library as the original would not print from Design Edition.  After tweaking the title, I offset it to make the back shadow. I popped this up on the page with foam tape; and placed a flower on the edge.

Thank you for stopping to visit with us at Sunsational Stamps and happy crafting to all.  You're more than welcome to come on over to Granny Ma's Creative blog for more inspiration; and become a follower both here and at my blog.

Thursday, July 17, 2014

Life is so sweet, by Marji

Hey there, I happy to share this fun card with you today using the pretty hummingbird image.
I used my pencils to color him in then painted him with a pearl paint for the luster.  I also added crystal effects to the center of the flower.
I dressed up the inside as well, using a rub on for the message

Monday, July 14, 2014

Loves Me! card


Hello, Today I am using a stamp by Sunsational Stamps. You can find it here http://www.sunsationalstamps.com/.

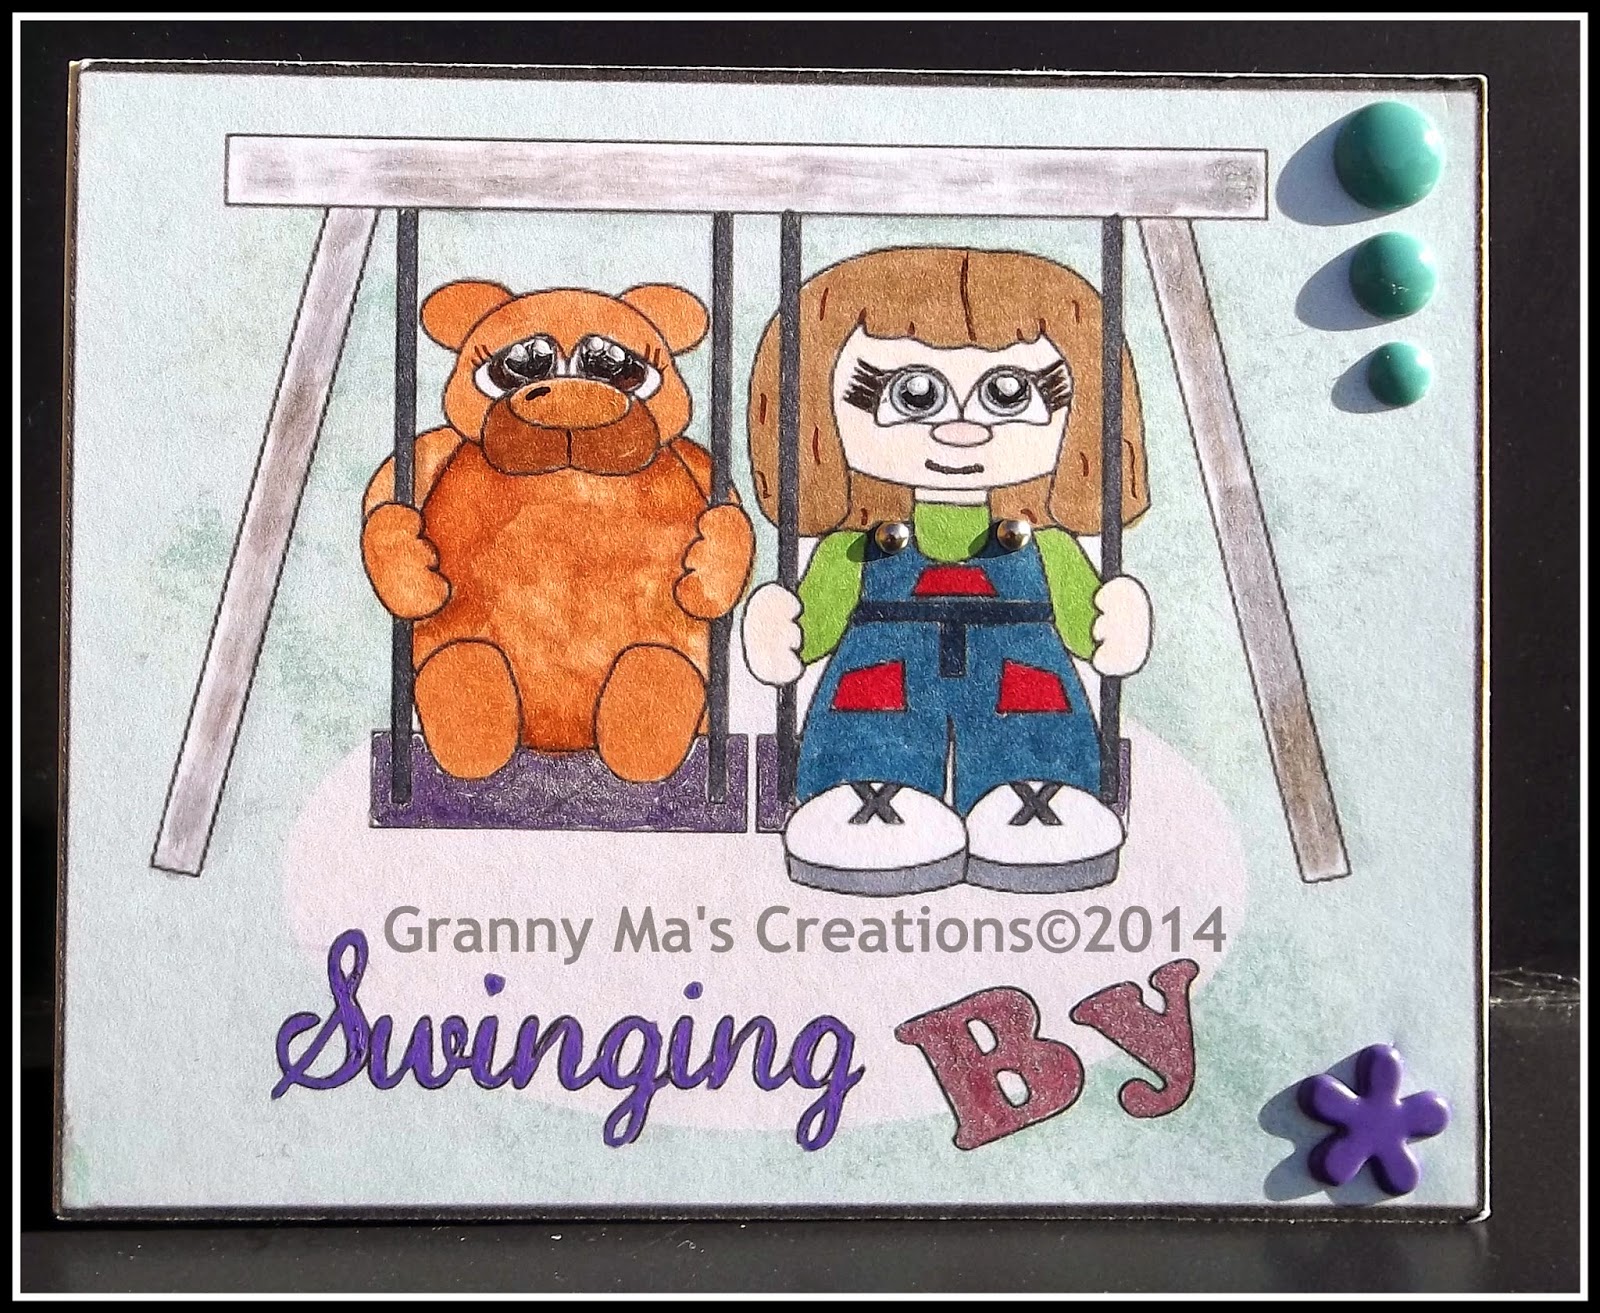
Copics used are R12, R14, R17, Y13, Y15, Y17- flowers, G40, G43, G46- leaves and stems, RV00, RV02, W1, W3, W5, W7- bear, E43, E44, E47, E49- nose, E31, E33, E37, E47, E49- eyes.

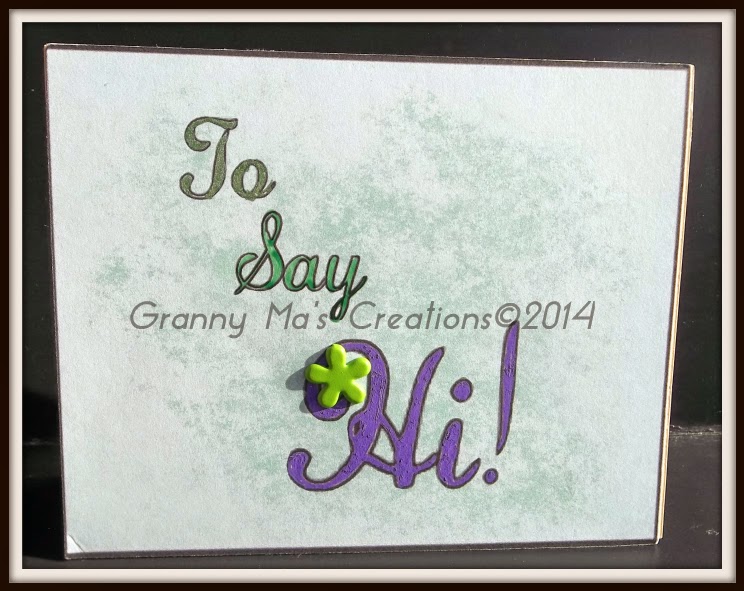
The sentiment words were colored with red, blue, and purple Stardust Gelly Roll Pens.

I cut the original sentiment into. I wanted just the last half of it for the card.

The ribbon is by Recollections- coral dot ribbon, Little Yellow Bicycle- blue ribbon, and American Crafts- glitter ric rac.

The flowers are paper flowers by Recollections. I added gems to the centers from Studio g. The leaves I cut by hand.

The papers are by Recollections- blue, and coral, Georgia Pacific- white, Imagine That!- digital prints-http://www.imaginethatdigistamp.com/index.html.

The card is 6 1/2" x 5".

Thanks for dropping by. Have a happy day! Edwina 


Saturday, July 12, 2014

Turtles Are Cool - Joy Fold Card

Good morning to all .... I am here to share with you my card that I created with the Turtle image from Scrapping with Lisa Designs

 
Inside of card

Supplies used:
  • papers from 6" Glitz Paper Pack - Sunshine In My Soul
  • Joy Fold Card found here: Joy Fold Card
  • Base of card - Kraft card stock from Hobby Lobby
  • adhesive and foam tape
  • button from my button stash
  • Inside sentiment created with Silhouette Studio DE software
  • scalloped punch used for the scalloped trim on front bottom of card
Thank you for stopping by to visit with us, and stop by Granny Ma's Creative blog  for more inspirational projects. 

Thursday, July 10, 2014

It's going to be ok by Marji


I created a digital card today.
I used my SIL program and the patterns I have in there to fill in and color my image and create the shapes for the card itself.
I love this turtle, super cute, that expression is just so sweet


Monday, July 7, 2014

Loves Me Not, Loves Me card


Hello, Today I am using a stamp by Sunsational Stamps. You can find it here http://www.sunsationalstamps.com/.

Copics used are E31, E33, E37, E47, E49- eyes, E43, E44, E47, E49- nose, RV00, RV02, E000, E00, E31, E33- bear, G40, G43, G46- leaves and stems, Y13, Y15, Y17, RV63, RV66, RV69- flowers.

The sentiment words were colored with blue, green, and purple Metallic Gelly Roll Pens.

The ribbons are by Recollections- dot ribbon, and Simple Memories- yellow ribbon.

The papers are by Bazzill- purple, Mein Lila Park- digital prints- http://meinlilapark.blogspot.com/, Georgia Pacific- white.

The card is 4 1/4" x 5 1/2".

Thanks for dropping by. Have a wonderful day. Edwina

Saturday, July 5, 2014

Swinging By to Say Hi

Hello from Carolyn with a 3D Stand Up Card (or referred to as a Tent Card) using the newest image by Scrapping with Lisa Designs ....  Swinging By To Say Hi...

 
Front view

 
 Back view

 
Side view

Supplies used:
  • Abode Photoshop Elements 12 Brushes
  • 3D Stand Up Card by Lori Whitlock 
  • Silhouette Studio Design Edition software
  • Paint.net software
  • Stick on buttons
  • Small silver brads from Stampin! Up
  • score tape
I traced the image in Silhouette Studio Design Edition and than copy and pasted the image into Paint.net where I created a png image, deleting all the white areas without the image, as I wanted it to stand alone on the mat w/out the white areas showing.

In Abode Photoshop Elements I created a green grunge mat using the photoshop brushes (Grunge), saved as a jpeg and than loaded into my Silhouette Studio Design Edition.  Placed the mat on the 3D Stand Up cutfile; and than on a separate page I created the mat, placing the png image on the mat, after I created a oval for the swing to set on.  I colored the png image with copic, bic and Stampin! Up markers - the Bic marker I used for the swing set was going dry but was able to create the bleached look.

Created a Grunge - looking mat for the back side and placed the 2nd half of the sentiment (traced, ungrouped and divided the sentiment so I can place one part on front, and the 2nd half on back.)

The 3rd view if of the 3D Stand Up card from a side view showing how I attached the pieces together.  This card base can be cut out by hand (various utube videos out there with tutorials; and also there is tutorials on splitcoaststampers.com), but I wanted a cardbase that was easy to cut out and corrected size.  My first attempt at cutting this out was not a great cut...but I believe it was the cardstock used - too flimsy.

Thank you for visiting with us here at Sunsational Stamps and stop by my blog at Granny Ma's Creative Blog

Thursday, July 3, 2014

Pretty doll by Marji


I chose to use this sweet doll today, I used my SIL program to add the patterns to her.  I chose to do it this way instead of printing on different papers because this way I knew her bodice would be a smaller pattern and look a little better.
I gave her real pearls for her head band and necklace and pearl "roses"