Meet our wonderfully, talented ladies who will inspire you day in and day out.
Paula Hatton Vines : A little bit about myself, first and foremost I am a Christian and feel blessed to be able to share my cards on facebook. I retired in 2007 and found crafting to be a love of mine. I have been married for 42 years to an amazing man and best friend who also crafts infact he is better at making cards than I am, ha ha. We have three fur babies which rule the house and a grown daughter that is quite the crafter and makes jewelry. I look forward to this journey with all of you.

Marji Reineke Franklin: Hi, I’m Marji, I am a stay at home Mom to a rambunctious and stubborn 4 year old, crafting is my sanity, my escape and what keeps me grounded. My daughter likes to craft with me which gives me more time to play since I can give her some supplies and she goes to town. I have been crafting my whole life, I found stamps about 20 years ago, paper piecing about 4 years ago along with digital stamps. My first love is still stamps even though I don’t use them as often as I used to. I’m thrilled to show you what I can come up with!
Helen Nile: “I work full time as an Activity Coordinator for a charity called Abbeyfield which provides care and support for older people. Once a month I teach workshops for a local stamping company and I’m also a card designer for them including providing samples and demos for their TV shows. I regularly write articles for for craft magazines and am lucky enough to design for several other digi companies”

LeeAnn McKinney: A little about me, my name is LeeAnn McKinney, I am 49 years old, and live in Central Florida with a wonderful husband that supports my fun. He is always there to encourage me and always wants to see my work as soon as it is finished; he is even learning some of the terminologies.
I have a wonderful family of daughters, son in laws and grandchildren who are the inspiration for many of my layouts, and card projects. I love working with my stamps, ink, paper and the crafty side of my brain.
Lisa Copler: My name is Lisa Cobler. I’m 49 years old. I live in Virginia with my husband of 29 years, Michael, and our fur baby Louis. My husband is the biggest supporter of my art. I’m a former nurse who is now disabled. I am a self taught mixed media artist. I use art not just to express my creativity but to cope with chronic pain from Multiple Sclerosis and being home bound.

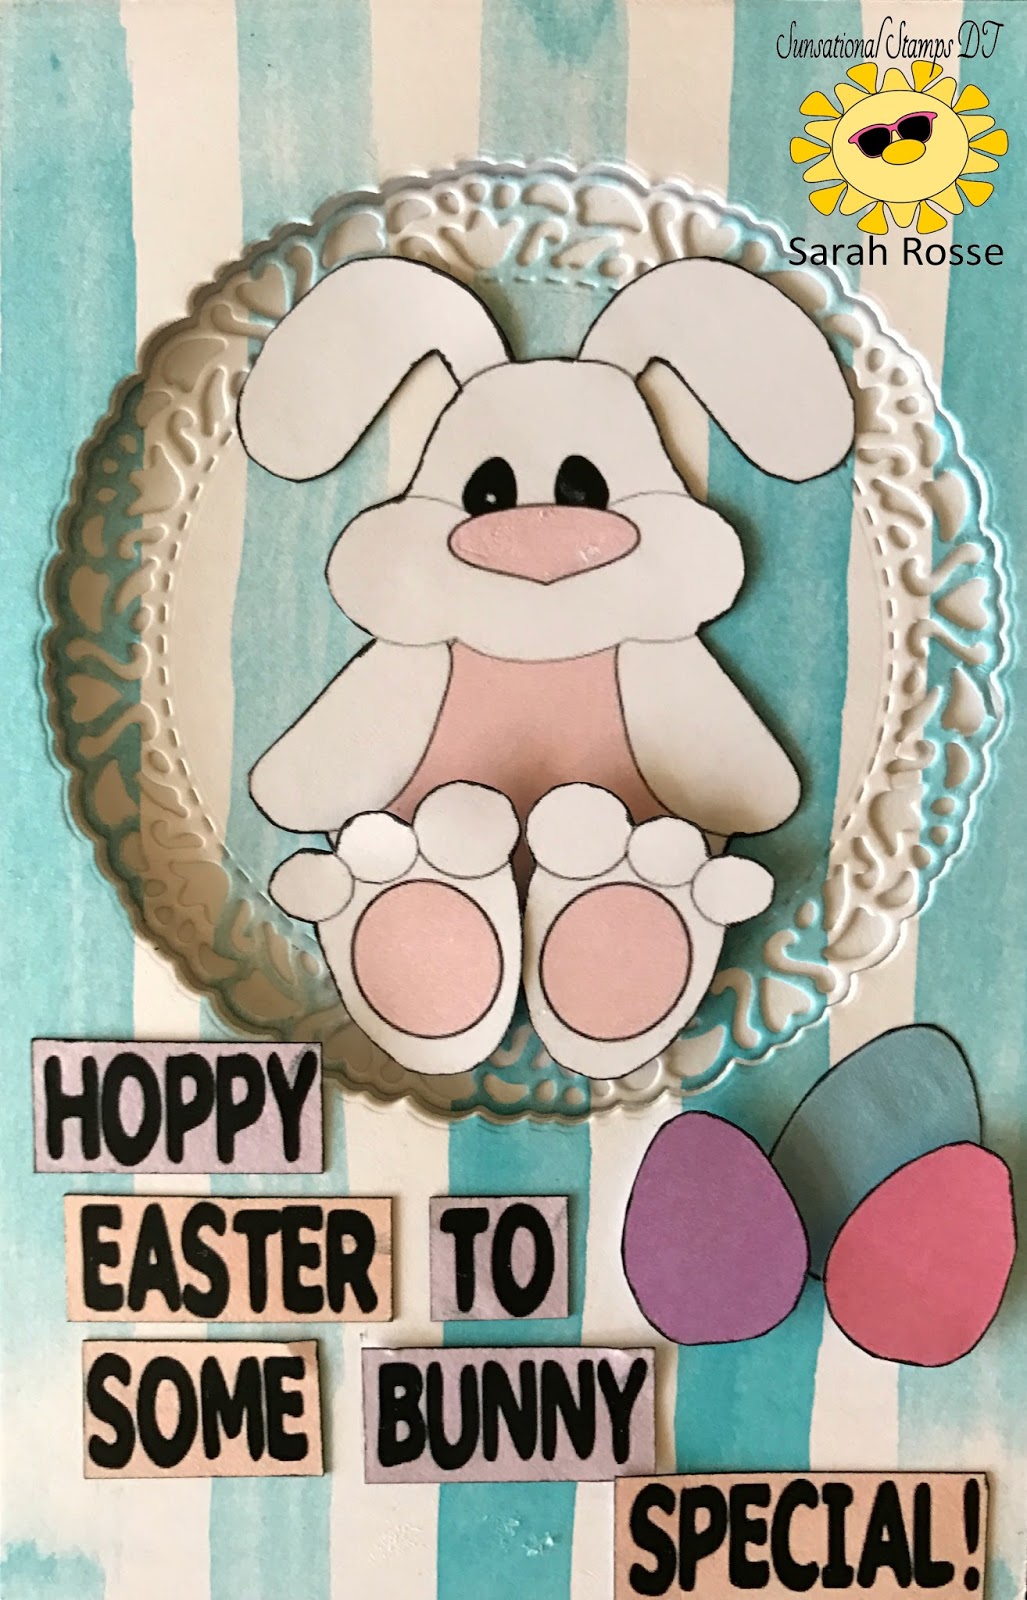
Sarah Rosse: Hi everyone, I am a full time working mum of two boys, married to a gorgeous husband with whom I live in Victoria, Australia with. I have been an avid scrapbooker for around 12 years now and as time passes, my obsession continues to grow. A day doesn’t pass where I don’t do something ‘scrappy’ related – whether it be seeking inspiration from YouTube, listening to podcasts, browsing new products online or getting in my craft room to be creative. I am on a number of design teams for which I am so grateful. I enjoy mixed media and all things messy! I enjoy making my own backgrounds and rarely does a page make it without at least some paint splatters! I hope you enjoy my designs for Sunsational Crafts.

Eileen Robertson: Hi everyone! I have been crafting since I can remember, and papercrafting/scrapbooking for the past two decades. I am married to my high school sweetheart and we have wonderful daughter and fabulous son-in-law, as well as a fur baby and fur grand-baby. I reside in the suburbs of Chicago. I love all different types of crafts from mixed media to card making, I am always trying out new techniques. I look forward to sharing some fun techniques and projects with you!

Sharon Gerrard Cameron: Hi everyone, my name is Sharon. I’m 52 yrs. old, married to my wonderful husband for 32 years and together we have 2 beautiful daughters who are ages 24 and 26. Arts and Crafts was my favorite subject in school. I loved working with paper, glue, and scissors right from the get-go and always looked forward to what I would create. Eventually I got into card making and enjoy using my free time to carefully and thoughtfully craft cards for my friends and family. I LIVE to stamp, color, and create! It brings me such joy to see the faces of my friends and family when they open the envelope and pull out the card made just for them. I am always involved in blog hops and have been on several Design Teams over the years. I’m a very creative person and card making is just one way I fulfill my passion to create.

Kim Schaeffer Venezia: Hi, I’m Kim and I live with my little dog, Katy, at the Jersey shore. I got involved in crafting many years ago; a friend brought her scrapbook when she visited me in the hospital. I was blown away by that scrapbook and loved the concept of taking pictures out of a shoe box in the closet and turning them into works of art with journaling that brought them to life. That got me hooked and I’ve been paper crafting ever since. Though now I prefer making cards with an occasional 3D project thrown in. I’m thrilled to be a member of the Sunsational team and look forward to sharing my work with you.

Marie-Christine Denis: My name is Marie-Christine, I live in France in a small town in Brittany with my husband, my son and my little dog. I started the scrapbooking for 9 years now. I love used a lot of stamps on my creations. I like to make Mixed media Art Journal with collage, cards and tags. I am happy to be Designer of this great team and look forward to introduce you to my work.
Mona Leonard: I have always loved crafting, as long as I can remember. I am a mother of two grown boys. I love spending all my spare time in my craft room (my little heaven). There is not much crafts I haven’t tried. I love doing anything with my hands. I joined Your Paper Pantry in 2011 and now I am really addicted to all paper crafting. Love making new crafty friends and learning new techniques
.
Deb Peterson Rauch: I’m a retired nurse and have been married to my husband for 34 years. I’m also the mother of two grown boys. I’ve been crafting since I was a young girl. I’ve tried many crafts, but for the last 15 years I have been papercrafting. I have also expanded into mixed media, altered items, and most recently art journaling. I love learning new techniques and making new crafty friends.
Shylaa Shree: I am Shylaa Shree, executive secretary by profession, mother of two kids. Since childhood, I am in love with arts & craft. Quilling is how it all began in the blogland and it was a turning point in my craft life from where i started into cardmaking, scrapbooking, alter items, make 3D projects and I make both fashion & paper jewellery. My recent addiction is towards digi stamps. Creating has become my passion.
Lorraine Hache: Hi, my name is Lorraine. I am married and have two children Melissa and Jason. I have a dog Chihuahua named Minnie. I have been crafting since a really young age and never stopped the passion of crafting. I enjoy trying different things and to share my work. Relaxing for me is Crafting.
Steph Ackerman: I have been creating in some form since I was a child. I love to create cards, mixed media, canvas and off the page projects using an assortment of products. I don’t start out with a plan in mind, I pull the products I want to use and see what happens. I teach classes several times a month at my local Michaels, in my home studio and local library. I love working and teaching with new products as my students love to learn what’s new in the crafting environment. I constantly submit my work for publication and have had as many as 30 cards in one print magazine. So excited to be a part of this new adventure.


![SS Strathmore Bristol Smooth_thumb[3]](https://blogger.googleusercontent.com/img/b/R29vZ2xl/AVvXsEj_YRggdsohsK_v9lq46tNwCqD6PYIeU3lKtixXV_FStJhZXeNeFBNQP9M5Cttwz75X2ioKL4enGNvAoUJ9QpHr4LW2VJXxGTkcRokV0z2X220_VcdaS48ZKFdhuLju4001YFGIgDwsKeU/s1600-h/SS%252520Strathmore%252520Bristol%252520Smooth_thumb%25255B3%25255D%25255B6%25255D.jpg "SS Strathmore Bristol Smooth_thumb[3]")